
Class presentations make many students more nervous than exams. But presenting is a learnable skill, and the difference between a forgettable talk and a good one comes down to a few things: a clear message, a simple structure, clean slides and enough practice. This guide takes you from planning to delivery, including how to handle nerves and questions.
Step 1: know your audience, time and goal
Before you open PowerPoint or Google Slides, answer three questions:
- Who is listening? Classmates who know the course, or an audience new to the topic?
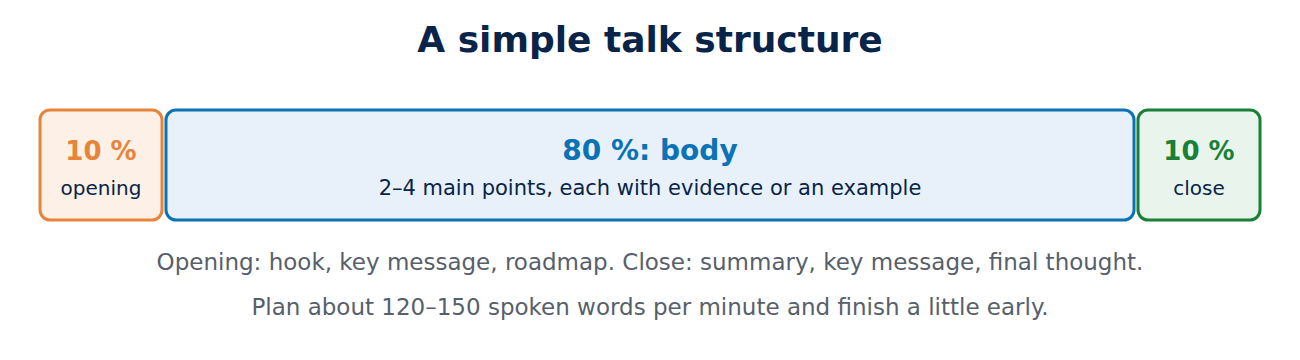
- How long do you have? Plan for about 120–150 spoken words per minute, and finish a little early.
- What is your one key message? If the audience remembers one sentence, what should it be? Write it down; everything else supports it.
Check the rubric too: many instructors grade sources, visual aids, time and audience engagement separately.
Step 2: build a simple structure
- Opening (10 %): a hook, such as a surprising fact, a question, a short story or an image; then your key message and a roadmap (“I’ll cover three things…”).
- Body (80 %): two to four main points, each with evidence or an example. Fewer points explained well beat many points rushed.
- Close (10 %): a summary of the main points, your key message again, and a final thought or call to action. Then invite questions.
Signpost as you go: “My second point is…”, “So what does this mean for us?” Listeners cannot scroll back like readers.
Step 3: design slides that support you
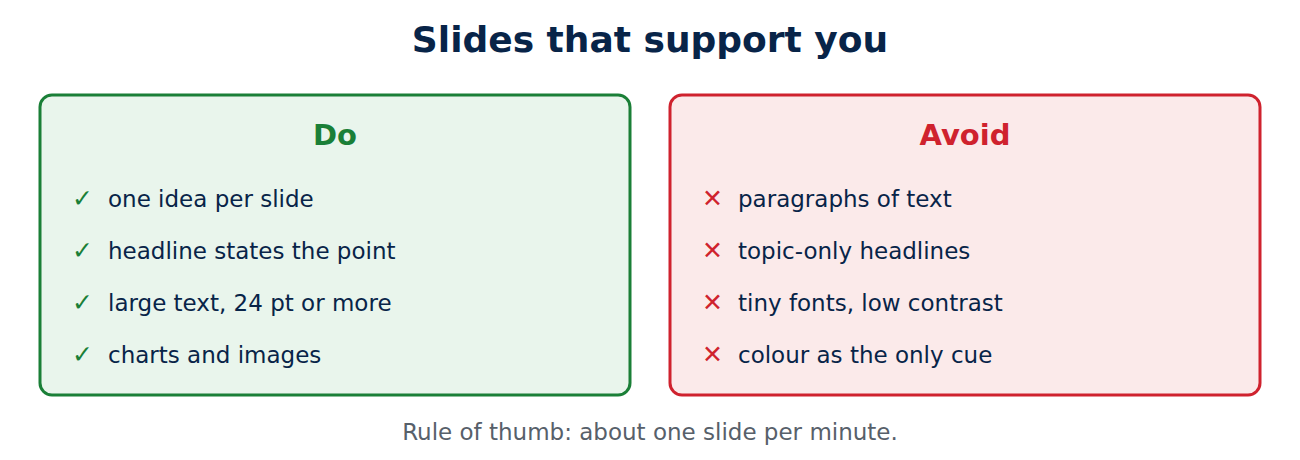
- One idea per slide, with a headline that states the point (“Short sleep lowers test scores”), not just a topic (“Sleep”).
- Few words: keywords, not paragraphs. If the audience is reading, they are not listening.
- Large, readable text: at least 24 pt for body text, high contrast, a simple font.
- Visuals over bullet points: a chart, a photo or a diagram explained aloud is easier to remember.
- Simple charts: one message per chart, labeled axes, the key number highlighted.
- Cite sources on the slide (small text) and on a final references slide if required.
- Accessibility: do not rely on color alone, add alt text to images and use the built-in slide layouts.
Rule of thumb: about one slide per minute, but this varies with content.
Step 4: rehearse out loud
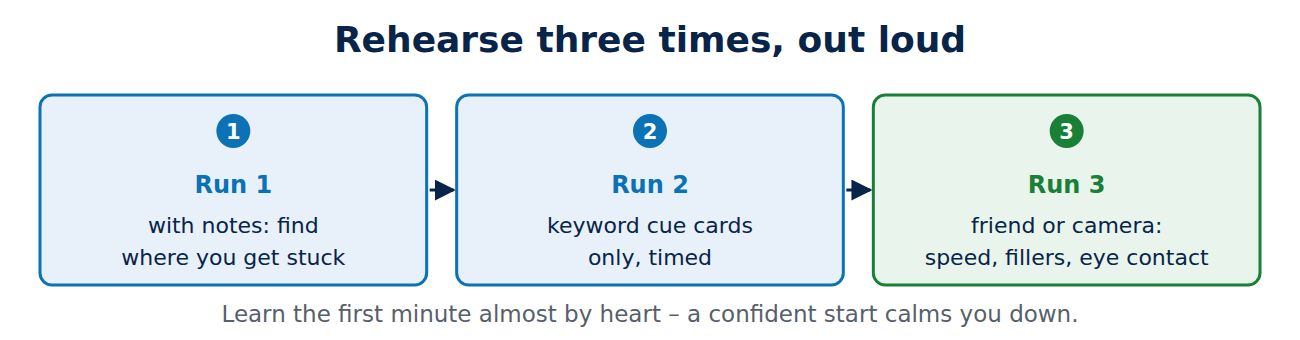
Practice is the most effective cure for nerves. Rehearse at least three times, out loud, standing up, and time yourself:
- First run: with notes, to find where you get stuck.
- Second run: with fewer notes; use speaker notes or cue cards with keywords only, not a full script.
- Third run: in front of a friend or your phone camera. Watch for filler words (“um”, “like”), speed and eye contact.
Learn the first minute almost by heart: a confident start calms you down.
Step 5: deliver with confidence
- Arrive early to test the projector, clicker, sound and any video. Bring the file on a USB stick and in the cloud, and save a PDF version.
- Stand still and breathe: slow breathing before you start (inhale four seconds, exhale six) lowers tension.
- Eye contact: look at different people for a sentence each, not at the screen.
- Pause instead of saying “um”. Pauses feel longer to you than to the audience.
- Speak slower than feels natural; nerves speed you up.
- If you blank, look at your notes, take a breath, and summarize what you just said; it buys time.
Handling questions
- Listen to the whole question, repeat or rephrase it so everyone hears it, then answer briefly.
- If you do not know: “Good question. I didn’t find data on that, but I can look into it.” That is a perfectly good answer.
- Prepare for two or three likely questions; add backup slides for them after your final slide.
Group presentations
Agree on one slide template, divide sections by topic (not by slide count), plan smooth hand-offs (“Now Maya will explain the results”), and rehearse together at least once. See group project tips.
Online presentations
Put the camera at eye level, use a headset or a good microphone, share only the presentation window, and keep a second screen or printed notes for the chat and your speaker notes. Engage the audience with a poll or a question every few minutes.
Conclusion
Start with your audience, time limit and one key message, structure the talk into opening, two to four points and a close, and use slides with one idea, few words and strong visuals. Rehearse out loud at least three times, start slowly and confidently, pause instead of filling silence, and answer questions honestly. Nervous before exams too? See how to deal with test anxiety.
Sources and further reading
- Speeches (UNC Writing Center)
- Make your PowerPoint presentations accessible (Microsoft Support)
- Healthy ways to handle life’s stressors (American Psychological Association)

















Recent Comments